
BLOG
![Short Game Hack #1 [Learn Four Shots for the Price of One]](https://images.squarespace-cdn.com/content/v1/59270e28f7e0abc173a968c6/1546034305902-51VL3JWES9OOL1CD7P3B/IMG_2998.PNG)
Short Game Hack #1 [Learn Four Shots for the Price of One]
Tired and frustrated from mediocre chipping and pitching? Use this simple hack to gain four shots in your arsenal using the same basic technique.
The artistry and technique of the short game can take years to master, with thousands of repetitions and a lifetime of experiences needed to build a “Seve” like touch with a wedge. For almost all of us, that amount of practice, or any practice for that matter, is highly unlikely. Fortunately, there are ways to shortcut, or hack our way to a better short game without the countless hours of practice.

Learn One Shot, Get 3 Other Shots for Free!
The 60 degree sand wedge is truly a game changer around the green. Effortless height on the ball helps it land softly and stop within a reasonable distance, but for many golfers this comes with some drawbacks. Hitting multiple types of shots with the lob wedge can get tricky. There’s no worse feeling in golf than trying to hit the lower, running pitch shot with a lob wedge and blading it over the green. A lot of you have a comfortable basic shot you can hit with the wedge, that flies a certain distance with a certain swing speed. Let’s use your basic motion and basic speed with multiple clubs to build a short game that helps you navigate different situations on the course.
“Rather than learn 4 shots with one club, an alternative way to develop your short game could be to learn 1 shot and change clubs for different situations.
”
Set up the Basics
The first step is building the basic motion to work off of with your most lofted wedge in the bag. Place the golf ball in the middle of a narrow stance. There’s no need to put the ball behind your back foot, with the handle of the club leaning way forward. A neutral shaft position with the handle of the club just ahead of your zipper will give you plenty of shaft lean for solid contact. Keep your shoulders level at address, with a slight lean of your upper body towards the target.
Now for the swing. The key to the basic shot is to not overload any of your speed producers. Thoughts like “just use the arms” or “only use the wrists” or “just turn the body” are usually counterproductive over time, unless you know your tendencies very well and one of those thoughts helps even out your motion. The backswing is a blended motion of shoulders and arms, with the wrists helping you get the clubshaft to a parallel to the ground position just past your trail leg. The follow thru is more of the same, with a little pivot towards the target, arms swinging to belt level, and enough wrist action to give the ball a medium height off of the clubface.
Same Motion, 4 Different Shots
Once you’ve established your basic motion with the lofted wedge, it’s time to apply that motion to different clubs. Take the next two clubs in your set, and for your fourth club, skip one in between. For me, the four clubs I would use would be my 60 degree wedge, my 56, 52, and then skipping my pitching wedge to use my nine iron. Applying my basic motion using these four clubs will give me 4 different shots. As you’ll see in the video below, the range of shots using the same clubhead speed of around 31 MPH gives you a solid base to tackle a lot of situations you’ll have around the greens.

Aaron is a Master Lead Instructor at the Tour Striker Golf Academy, located in Phoenix, Arizona. To keep upgrading your game, make sure to subscribe below to weekly updates from the blog.

Putt Like the Pros With 6 Simple Drills
6 Putting Drills for All Ages and Abilities
BETTER PUTTING IS JUST MINUTES AWAY
Making huge improvements on the greens doesn't have to be hard. There are many proven methods, grips, and green reading techniques that all get the ball into the hole.
I've put together 6 simple drills that anyone can do, that will dramatically improve your putting in a matter of a few sessions.
If you can carve out 20 minutes twice a week to try these drills, you will be crushing it on the greens and winning bets from your buddies.
To download the ebook and get the drills, click here.

3 Point Finish
Short shots around the greens can be demonizing for weekend golfers, and sometimes can even jump up and bite the best of the best out on the PGA Tour. As coaches, we’re always running through checklists to prescribe a change to a student’s form; one that will make the largest positive impact, in the shortest amount of time. In fact, many times it’s a very simple, though integral fix to change their shotmaking ability around for the better. Take a look at these three highlighted areas, and figure out which one is holding you back from hitting those crisp, predictable short shots time after time.
Short shots around the greens can be demonizing for weekend golfers, and sometimes can even jump up and bite the best of the best out on the PGA Tour. As coaches, we’re always running through checklists to prescribe a change to a student’s form; one that will make the largest positive impact, in the shortest amount of time. In fact, many times it’s a very simple, though integral fix to change their shotmaking ability around for the better. Take a look at these three highlighted areas, and figure out which one is holding you back from hitting those crisp, predictable short shots time after time.
AROUND NOT DOWN
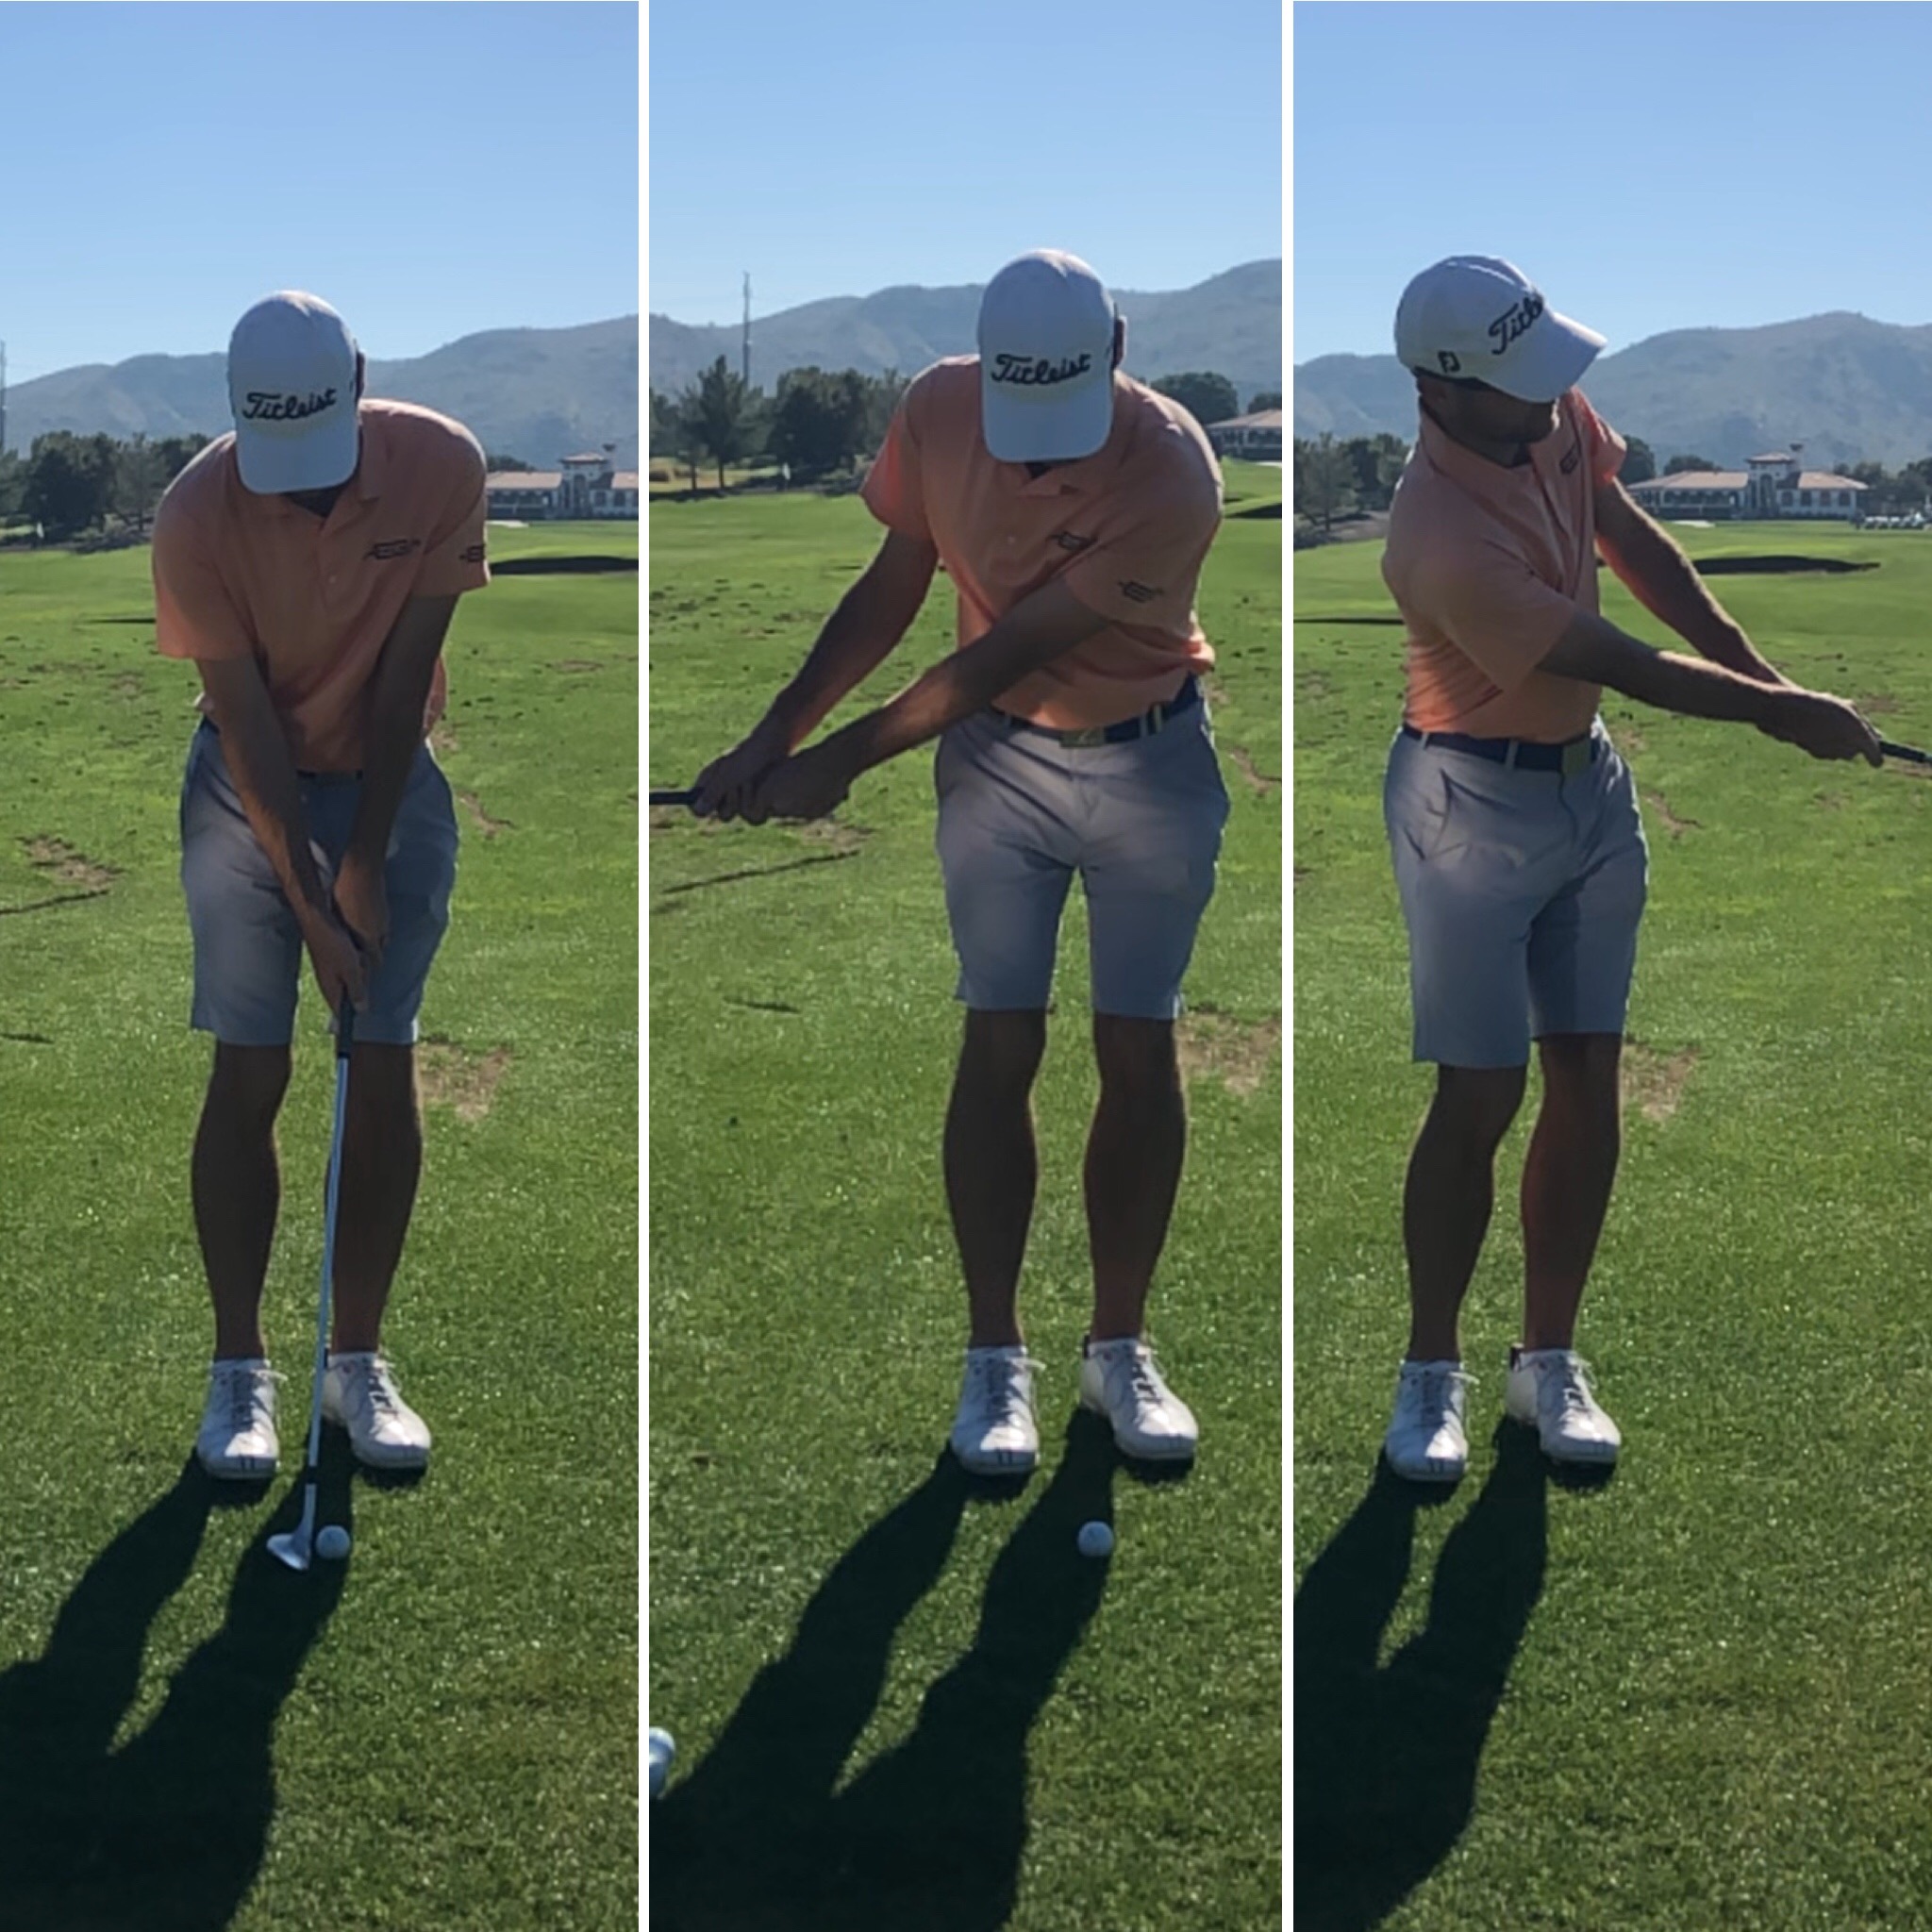
One of the most common mistakes I see from the club golfer, is a tilting of the shoulders backwards, away from the target, causing fat and thin shots. Notice how level to the ground my shoulders have finished, and how my right shoulder has turned past the point on the ground where the ball once was. This higher, more around right shoulder is a great visual, and a vital part in keeping the golf club moving around the body to the left in the follow thru.
Using this type of pivot, the golfer has the ability to hit multiple trajectory shots, depending on other factors, but is always right on target with clean contact. Check yourself with a smartphone to see that your trail shoulder isn’t moving too far down and back, in an effort to get the ball into the air.
KISS THE KNEES
A very simple way to improve your lower body action, is to imagine your knees kissing together into the follow thru. Way too often, golfers flex their right knee towards the ground aggressively, separating it from the left, and causing a stabbing action to the club head into the ground. Try focusing on the knees moving together in unison, as they both rotate towards the target evenly, leaving your kneecaps pointing more towards the target than when you started.
TIP THE SCALES
Last, but not least, is where the weight or pressure is distributed between your feet at the finish. You can have the best looking chipping motion in the world, but if you’re doing it while standing on your back foot, consistent contact will still be an issue. Keep the feet very close together, only one or two ball widths apart, and try hitting some short shots off of slight downhill lies to help you finish forward, not back.